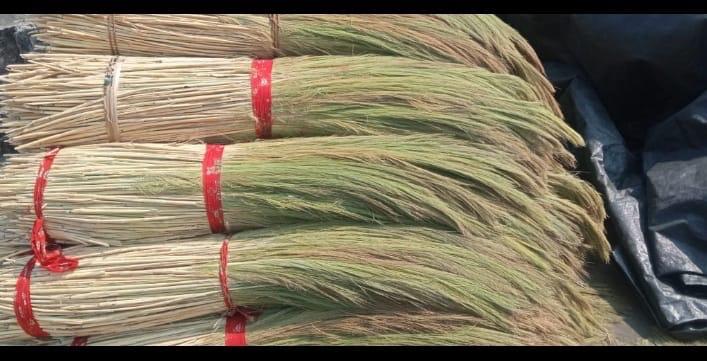
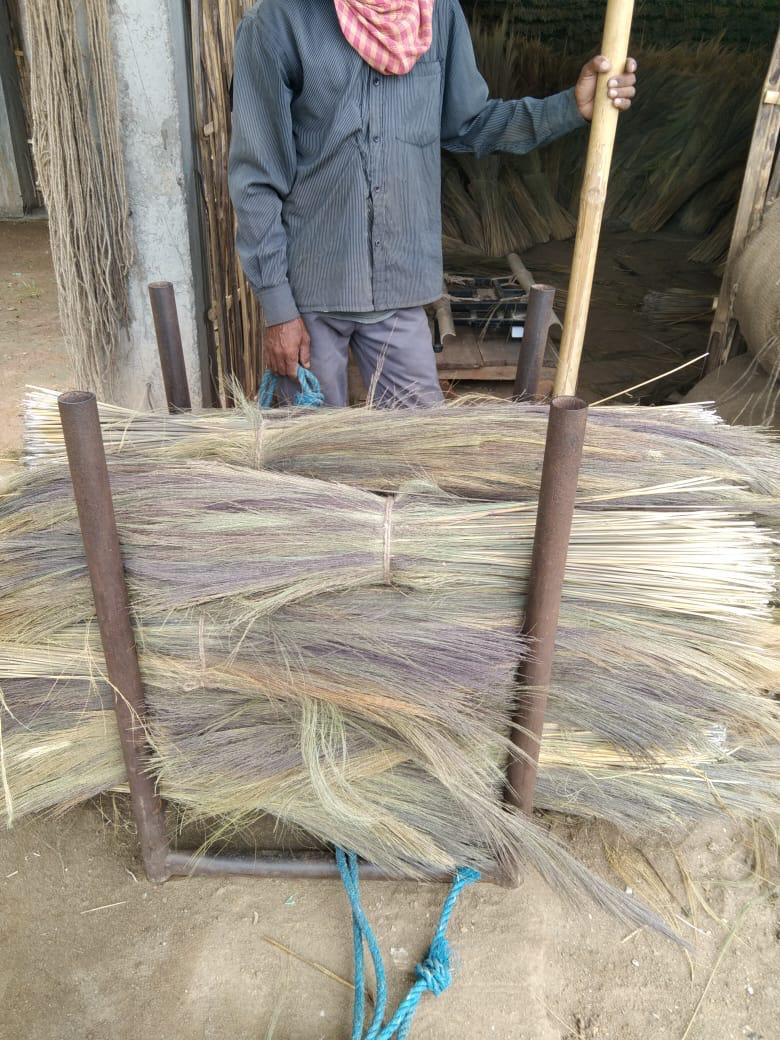
Kleen Korner Cleaner Company is a family-owned business. They specialize in manufacturing high-quality broom sticks and mop sticks, sourcing materials directly from local farmers. This approach ensures that their products are made from natural, eco-friendly materials, supporting local agriculture and promoting environmentally responsible practices.
Kleen Korner is committed to providing durable and effective cleaning tools for both household and commercial use. Their products are crafted with attention to detail and designed to meet the needs of various cleaning tasks, ensuring efficiency and longevity.
KLEEN KORNER – WORKI NG WITH FARMERS
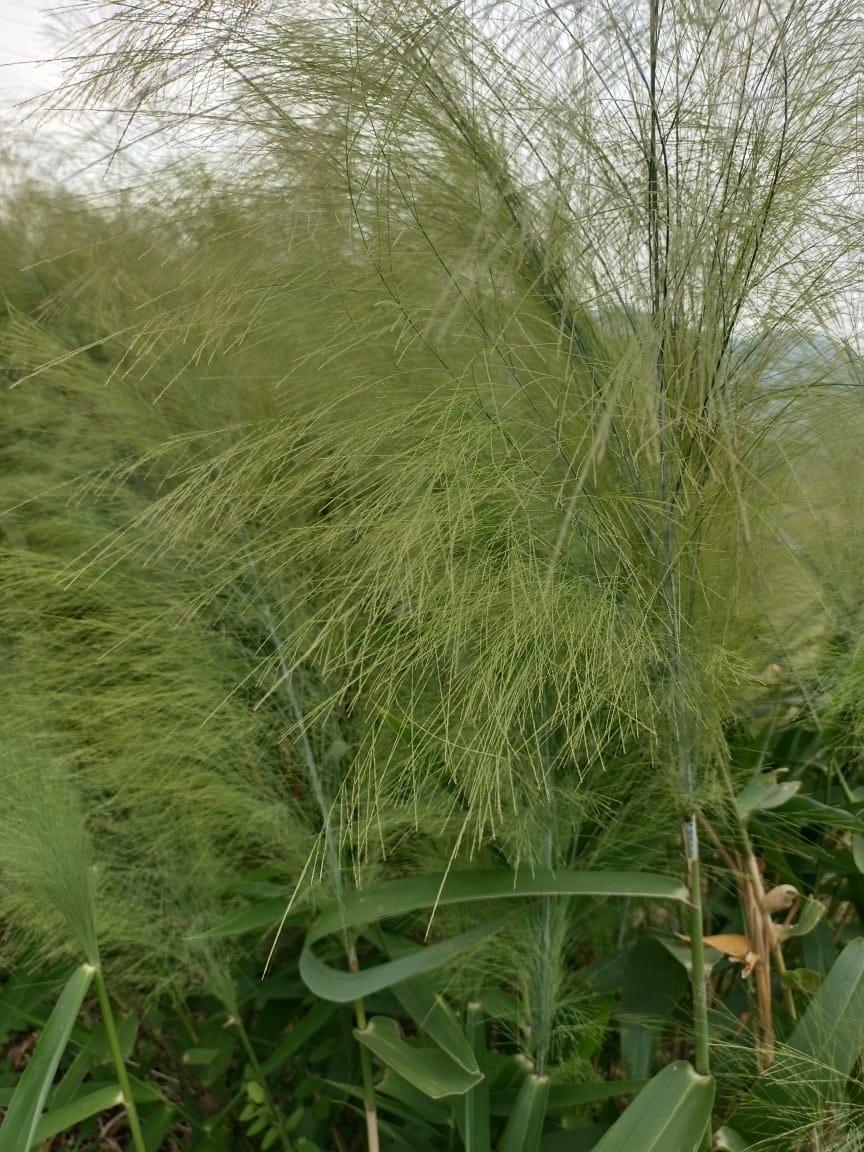
Farmers in Iowa are busy harvesting corn and soybeans from their fields. Broomcorn is actually not a type of corn at all. It is part of a family of plants called sorghum. Farmers grew broomcorn and sold it to factories, as a way to make some extra money. Not every town had a factory, so brooms would be shipped to towns around the state, around the country, and even around the world.
steps: One of the first steps to making a broom was to soak the broomcorn in water. Making handmade broomsticks involves gathering materials, preparing them, and assembling the broomstick. Here’s a step-by-step guide:
Materials Needed:
Natural Fibers for Bristles: Straw, sorghum, millet stalks, or coconut leaves (midrib). Durable grass or any stiff plant material.
Wooden Stick or Handle: Bamboo, hardwood, or a sturdy tree branch.
Binding Materials: Natural twine, wire, or nylon string.
Tools: Knife or machete (for cutting).
Scissors. Drill (optional, for attaching the handle).
Step-by-Step Guide:
1. Gather Materials: Collect natural fibers like straw, sorghum stalks, or other plant material with stiff bristles. Choose a sturdy and straight branch or bamboo for the handle. The handle should be long enough for comfortable sweeping (about 3–4 feet).
2. Prepare the Bristles: Harvest Fibers: Cut the stalks or midribs of the plants to a uniform length (10–18 inches, depending on the desired broom size). Dry the Fibers: Lay the fibers in the sun to dry. This ensures they are firm and durable.
Trim: Neatly cut the ends of the fibers for a clean, uniform appearance.
3. Prepare the Handle: Smooth the wooden stick or branch using a knife or sandpaper to remove splinters. Trim the handle to the desired length and diameter. (Optional) Drill a small hole at the top of the handle for hanging the broom later.
4. Assemble the Broom: Arrange Bristles: Bundle the prepared bristles together at one end, ensuring they are evenly aligned. Attach to the Handle: Place the bristles around one end of the handle. Use twine, wire, or string to tightly bind the bristles to the handle. Wrap multiple layers of binding material to secure the bristles firmly. Optionally, use nails or screws to further secure the bristles (be careful not to split the handle).
5. Finish and Trim: Trim the bristles at the working end of the broom to create an even surface for sweeping. Check the binding to ensure everything is tight and secure.
6. Test the Broom: Sweep a small area to ensure the bristles are stiff enough and the binding holds. If the broom feels unstable, add more twine or wire to strengthen the connection.
Tips for Handmade Broomsticks:
Decoration: Wrap colorful twine or carve designs into the handle for aesthetic appeal.
Alternative Fibers: Use coconut midribs or palm fronds for tropical-style brooms.
Eco-Friendly Option: Stick to natural fibers and biodegradable binding materials. With some effort and creativity, you can create a functional and durable handmade broomstick. Let me know if you’d like help adapting this process for specific materials!


